Tuesday, 16 July 2013

Project Ragalia: A colour scheme blueprint - Part 1

Ok, so it's time to take a dive into figuring out the colour scheme of my army. It's going to take a fair bit of experimenting and probably some degree of frustration, so I thought I'd bring all my data and results together and present them here for anyone who cares. Who knows, maybe it'll save someone else some hassle; at the very least it'll help me document my findings so I don't forget them later :)

Based on my last post, there's a few major goals I'm working on that are fairly symbiotic in nature - I'm not only trying to figure out what paint colours to use, but how to use them effectively through an airbrush. To that end I've devised an initial set of experiments. I shall continue to post as I progress, hopefully at the end of it I'll have a paint scheme and technique I can actually use to paint my army!

Glossary:
- AB = Airbrush
- VGC = Vallejo Game Color
- VMA = Vallejo Model Air

Experiment A: Bone-coloured Robes
Goals:
  - Determine what colours to use to paint bone. Initially, the robes the DA are so fond of.
  - Determine what thinning, pressure, nozzle size is required to paint each stage with

Background:
Watching videos on YouTube, especially from BuyPainted, the plan is as follows:
  - Undercoat in Vallejo Grey Primer
  - Base coat with VMA Sand (Ivory)
  - Using an AB, build a blended shadow colour in the folds of the cloak with VMA Sandy Brown
  - Using an AB, build first level of base\highlights with VMA Sand (Ivory)
  - Using an AB, build second level of highlights with VMA Sand (Ivory) : White 50:50

From the videos, the shadows are achieved with a single fine stroke from the airbrush very close to the model directly into the folds of the cloak. Looks very difficult.

Day 1:
Ok, so I started by throwing caution to the wind and starting with the Bolter Marine from Command Squad Ecanus...after undercoating and base-coating in Sand, I went in with the airbrush at 20psi, loaded it up with Sandy Brown, and promptly coated the entire cloak in the shadow colour in one big mess. Result: Fail!

Clearly I'm going to need to tweak something...after getting some vague advice from BuyPainted (i.e. he keeps his pressure constant but thins his paint to the correct consistency for the task at hand, although he didn't indicate what that pressure might be or a good thinning ratio to work from).

It's time to experiment! I painted 6 older metal Dark Angels Marines with Robes as follows:
1) Grey Primer undercoat, applied with my 0.35mm Iwata AB
2) Sand base coat, applied with my 0.20mm H&S Evo AB @ 20psi with no thinner

Here's the line-up prior to the next stage, you can see the identifying numbers on their base:

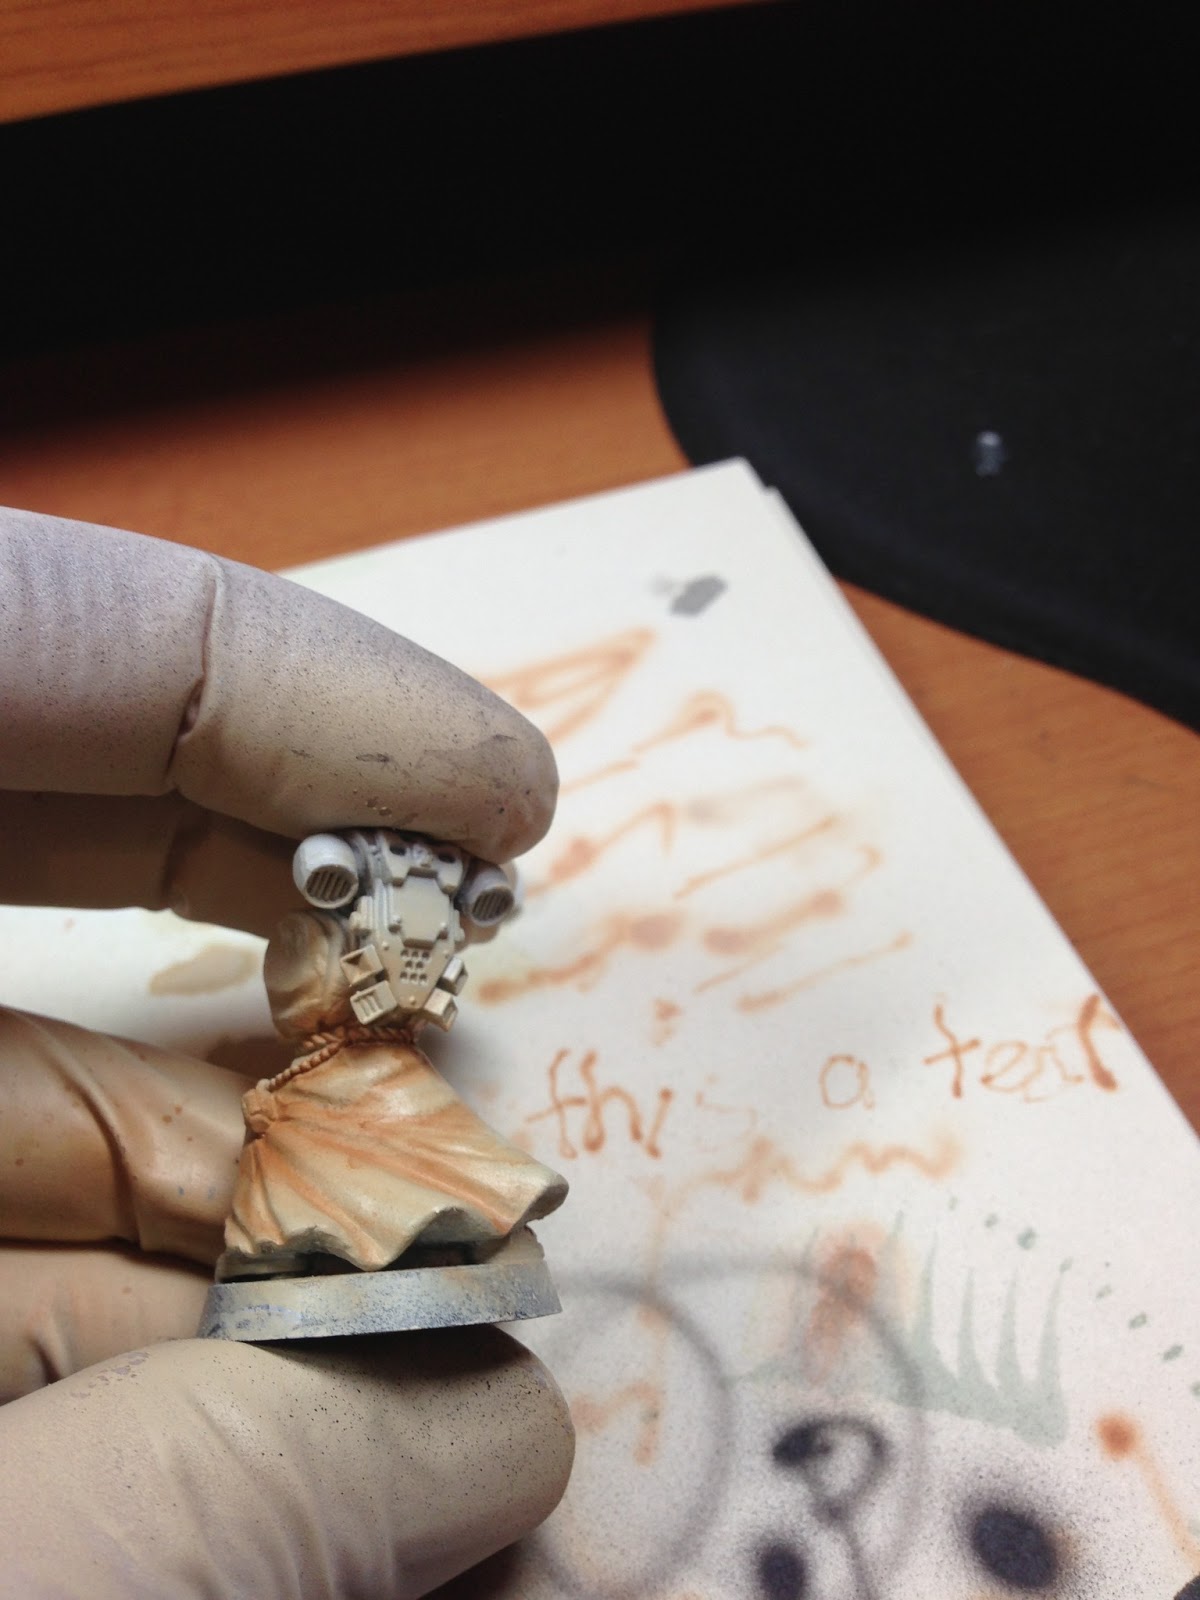
3) I then proceeded to paint the Sandy Brown shadows on each marine, changing my pressure and thinning each time to try to find the right balance. All thinning was achieved via Vallejo's Airbrush Thinner (new formula) and mixed directly in the cup with a crappy old brush (I need to get myself a mini spatula!). All stated ratios are paint : thinner, and I used my H&S Evo with 0.20mm nozzle

The results were as follows:
   - I) 1:10 paint @ 15 psi - basically came out as a wash, blowing the paint around horribly, pooling, and the colour itself wasn't nearly deep enough. More like a really difficult to control tint, if anything. You can also see where I used my finger to remove the darker colour on the raised sections of the robe - a process I feel would have been far more effective had I bothered to wait until the base coat was completely dry...


   - II) 1:10 paint @ 10 psi - still way too thin, still went on terribly, couldn't even get a fine-line on paper with this mix.


   - III) 1:5 paint @ 10 psi - this provided a slightly better result, producing a good broad tint that didn't overpower the underlying colour too much. The problem was that it was still too thin to get a fine line.


    - IV) 3:10 paint @ 10 psi - this mix was far more controllable, allowing a much tighter line, but still too thin to prevent pooling and spatter when AB up close and personal to get better line control.


   - V) 2:5 paint @ 10 psi - I felt that this level of thinner was pretty much perfect. It allowed me to start to get fine lines whilst providing broad enough coverage to achieve a decently smooth blend.


   - VI) 2:5 paint @ 5 psi - just for shits and giggles, I lowered the pressure again. This gave me really, really tight control over the lines where I felt the only limiting factor was my skill at knowing where the paint is about to come out of the brush before I hit the button.

Next Steps:
Still a fair way to go on a final blueprint for bone coloured robes. The next step is to go over marines V and VI with Sand to bring back out the base colour on the raised sections, before proceeding to the highlighting stages. I'll start with the same ratios and pressure settings of 2:5 and 7.5 psi, and if I can't find a good balance between the two practice marines I'll redo the other 4 based on what worked for Sandy Brown to give me more troops to practice highlighting on.

Closing Thoughts:
As far as I'm concerned, the experiment was successful at delivering a workable solution - if I mix my Sandy Brown layer at 2:5, and run between 5 and 10 psi, I get a controllable and fine line. I think the only thing that will improve this now is practice and steady and fast hands, and improved AB accuracy.

Experiment B: Dark Green Marine Armour
Goals:
  - Determine which paints to use to deliver a fairly close match to the original Dark Angels Green scheme I was using
  - Determine what thinning, pressure, nozzle size is required to paint each stage with

Background:
Again, from BuyPainted, my plan is as follows:
  - Undercoat in Vallejo Black Primer
  - Apply a horizontal highlight in Grey Primer
  - Apply a top-down highlight in White Primer
  - Base coat with VMA Olive Green (?)
  - Highlight (unknown colour), again using the top-down zenithal highlighting method

I've never used zenithal highlighting, and I'm keen to see how effective the pre-highlight stage turns out to be on the base green colour. Note that I'm not convinced that the suggested VMA Olive Green is going to deliver the right tone I'm looking for, but I won't know until I paint it on the marine and see for myself. The other alternative is VGC Dark Green, which is Vallejo's answer to the older Citadel Dark Angels Green. I've had major issues with coverage of this colour in the past (as recorded on my blog), but I've now got 2 more pots of the same colour from two different vendors in the hope I just got a bad pot. So, grabbing a spare marine (I have surprisingly few "spare" marines), off we go on another experiment.

Day 1:
Right, so, we undercoat black, then just spray some grey from the sides right? If only...
1) Undercoat in Vallejo Black Primer (Iwata 0.35mm) @ 20 psi - check
2) Horizontal highlight in Vallejo Grey Primer (Iwata 0.35mm) @ 20 psi - FAIL!

Here you can see the result - spraying from about 6" away produced a really dusty, crappy, orange peel effect with bright flecks of colour for good measure. Yuck! 


Take 2...
1) Undercoat in Vallejo Black Primer (Iwata 0.35mm) @ 20 psi - check
2) Horizontal highlight in Vallejo Grey Primer (Iwata 0.35mm) @ 15 psi - FAIL AGAIN!

Seriously, twice in a row? Same result too...


Next Steps:
After I finish wanting to hit things, I plan to try two other methods to get what I thought would be a darn simple coat of grey paint:
a) Try it at 10 psi, up closer so I can control coverage
b) Try using VMA German Grey instead. I know this sounds odd, but I took a screenshot of BuyPainted's video at the point where he held up the marine with grey horizontal highlights and while he said he used Grey Primer, it looks much darker than that to me. Perhaps a thinned VMA colour will help with the orange peel too, who knows? I guess I will after I experiment :)

Closing Thoughts:
The less said, the better. I expected to struggle with where the paint went if anything, certainly didn't expect to have to struggle to get an even coat on...

Experiment C: Dark Green Tanks
Goals:
  - Determine which paints to use to deliver a nicely shaded and highlighted tank in the same Dark Angels green scheme as my marines (which may not necessarily use the same paints)
  - Determine what thinning, pressure, nozzle size is required to paint each stage with

Background:
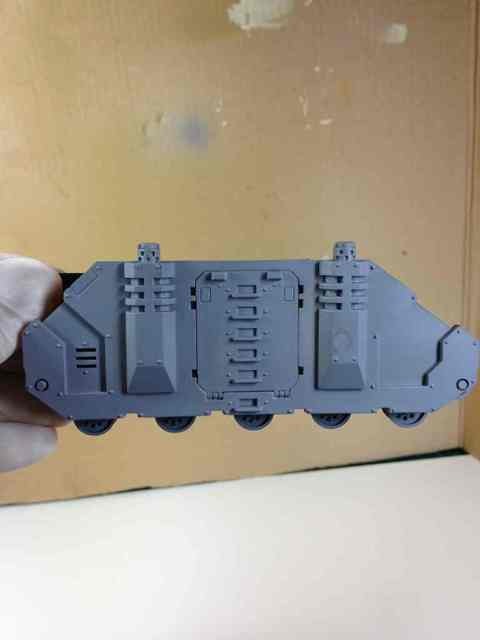
So there's a few different ideas rattling around in my head, and I'm not sure how to proceed as yet. It's listed on this blog post because I've started painting the interior of Command Squad Ecanus' Razorback in preparation for a coat of paint, and I need a reasonable method planned out pretty soon as a result.

Firstly, I plan to use my poor old Rhino from previous posts as a testing bed for my ideas. Just need to dig it out of the graveyard and give it a good solid black undercoat.

Here's some thoughts on how I might approach it, still yet to solidify them:
Method A: Pre-shading \ Pre-highlighting - I've seen a bunch of videos that start with a grey primer coat, then pre-shade panel lines with black and pre-highlight edges with white. Then they spray a number of light coats of the base colour and end up with all the hard work pretty much done. The thing is, I'm not certain how I can apply this method when my base coat is black already...maybe I'll just try the edge highlighting in grey and go from there?

Method B: Standard base coat, shade & highlight - Alternatively, I could simply start from a black undercoat, apply an even coat of green, then use a darker mix for panel lines and shading, and a lighter mix for highlights.

Method C: This idea integrates with either A or B, so will probably be included no matter what...either paint the whole model in a slightly darker shade of the base colour, then lots of thin light coats of the base colour, leaving a smooth transition from the bottom of the tank side to the top (where it's completely covered with base colour), or paint the whole tank in the base colour and manually paint in the transition with the darker colour.

As you can see, there's a few permutations of those thoughts. Some time in the next few sessions I'll probably just pick a combo and give it a go on the test tank, and document my findings. Not sure what else to do but play around with the ideas until I'm happy.

Well, that's it from me for now. A long post as a welcome change from a year of no posts. Hope someone in the ether finds it at least mildly interesting :)

Back From the Dead...Again

Wow, I knew my life had been crazy, but didn't realise how crazy until I saw its been practically a year since my last post! The worst part is, that's how long it's been since I've been hobbying too!

Oh well, no time like the present to kick things back off. After moving into a house that actually fits my painting gear into it, I've had three sessions in a week. Not much to show for it thus far, but it's a start.

Before the long break I had just finished putting my Company Master and command squad together. His name is Ecanus, so the squad will be referred to as Command Squad Ecanus from now on.

Before my break I was just starting out into the big scary land of airbrushing - I had managed to lay down base costs of one colour successfully, but not much else. My plan is to practice until I'm adept enough to replicate some of the amazing work I've seen from Yaroslaw on his YouTube channel BuyPainted. The guy is an absolute master of airbrush control, delivering inspiring results in both time savings and smooth colour transitions.

For me to come anywhere near that I need a lot of patience, a load of experimentation and practice, practice, practice. I also need to resolve the matter of colour schemes I was struggling with a year ago, since the brainiacs as Games Workshop Money Printing Inc abandoned the line of paint I was using on my Dark Angels, including the cornerstone colour for my army, Dark Angels Green. They claim they replaced it, but in my opinion Caliban Green lacks the warmth and rich depths of DA Green and I was so annoyed I abandoned GW paints altogether. I've collected a fair amount of Vallejo Game Color and Model Air paints since and will be working exclusively with them moving forward, but I still need to figure out which paints to use where.

Ok, so in summary, my challenges are thus:
1) Determine the paint scheme for DA green armour
2) Determine the paint scheme for bone armour (Deathwing + trim colours)
3) Figure out how to use my AB's effectively

I'm now running an Iwata Eclipse HP-C 0.35mm for base coats, and the beautiful Harder & Steenbeck Evolution Silverline with a 0.2mm needle for detail work.

According to BuyPainted, the latter is capable of painting the shadows in a cloak with a single smooth-transitioned stroke so that's my goal in terms of skill and effectiveness.

I just need to figure out how to do it!

More very soon.


- Posted using BlogPress from my iPhone

Tuesday, 17 July 2012

5th Company Command

Sooooo... what a crazy few months! With my beautiful fiance moving into my apartment, along with her very sick mother, kitten and puppy, life's been a bit hectic of late. Thankfully things are settling into a rhythm quite quickly, and whilst I'm not spending four hour blocks at the painting desk like I used to, I found my first hour-long snippet of time to sit down and get some work done.

With my soon to be mother-in-law as ill as she is, and living in our loungeroom (it's a 1 bedroom apartment), I can't exactly crank out the airbrush for a while, which kind of puts the kibosh on finishing my Land Raider painting experiments. It's a very small sacrifice to make for her (she's a beautiful lady, and it's an honour to have her stay), and in the true spirit of making lemonade from lemons, I've shifted my plans slightly.

With the new GW paints released, and the appalling coverage of Vallejo's DA Green paint, this is actually a good opportunity to change up my colour scheme slightly to try to match the old DAG I've used thus far.

Reading a crap-tonne of forums and articles, I'm going to try replacing DAG with Caliban Green with a Waywatcher Green glaze BEFORE I start highlighting. I know glazes are supposed to integrate highlight shades back down into the base colour for a smooth tonal transition, but I'm happy with my old highlighting colours and technique and don't really want to mess with it. What I do want to do, however, is add back the lovely warmth the old Dark Angels Green possessed, but sadly the Caliban Green lacks. The forums seem to indicate this is the best way to do it.

So, where to now then? In my hour of fun I sat down and starting building the Command Squad for my 5th Company deployment. I've actually got almost all of the 5th Company in boxes now, minus most of the transport units, so I really need to get the ball rolling with cranking out painted units.

It's a pretty typical Command Unit, complete with Apothecary, Standarad Bearer, Company Master and Company Champion. The only item of note is some minor conversion work for the Standard Bearer. I clipped the cross-pole off my Brother Bethor who was fully painted for the last couple of years but without a banner, and I've used the moulded banner from the Command Squad box instead. It fits nicely on Bethor's existing pole, but given he'll be carrying the Dark Angels Chapter Standard, I though it could use some tarting up.

To that end, I've pinned a DA angel from the Chapter Upgrade sprue to the top, added a sconce and DA pendant on rope to the top of the banner itself, and I've attached some large clusters of purity seals from the FW Purity Seal pack to the front and back of banner, along with a long scroll on the back.

Now updated with pics of the un-painted squad ready for priming (though I've since added a DA icon to the Champion's backpack just to make him stand out a bit more).


Friday, 1 June 2012

The Army Grows

Whilst I haven't managed to find time to progress my experiment over the last few days, I haven't been idle either. Maybe it's just my mild OCD, but one thing I love about 40k is planning and putting together an army. Sure, my painting time investment often falls well short of my intents, but it's still fun and it's something I can do from work, or half an hour at home between other stuff preventing me from painting.

So this week I took a look at my army list (published on this site), compared it to what's in my "ready to be painted cabinet" and the bazillion bits boxes lying around the house, and managed to scrimp together a whole bunch of units with almost no further investment required.

So, in the painting queue I have:
2 DA Ven Dreads
Warhound Titan
Thunderhawk
2 x 10 man Tac Squads with Rhinos
1 x 10 man Tac Squad waiting for FW bits for their Rhino
1 x 10 man Assault Squad
1 x 5 man combat unit to bolster my Dev squad to 10
Company Master, Command Squad and Razorback
Azrael
Land Raider w/DA doors and extra armour
Land Raider Ares
Land Raider Promethius
Land Raider Terminus Ultra
Ravening Attack Squadron w/ Land Speeder (full 10man squad)
Half of a Techmarine squad (need 2 more servitors)
Deathwing Terminator Squad

That's a pretty big backlog of painting! I better hop to it and figure out vehicle painting soon! :)

Tuesday, 29 May 2012

An experiment: Pre-shading Dark Angels

So, after looking around the net at various airbrushing techniques, I stumbled across the idea of pre-shading. The concept is to paint your shadows (panel lines, recesses, etc.) onto a vehicle in a darker shade of the undercoat before mist-coating in your chosen colour. Assuming you apply a number of thin layers of base-coat, your pre-shading should just be visible as a darker shade of your base-coat, essentially shading your vehicle very rapidly and effectively.

Great concept, but how the heck do I do it with Dark Angels Green? I need something that's going to match the way I paint my troops, else the vehicles just won't look contiguous with the rest of the army. My normal colour process for the armour on Dark Angel troops is as follows:
1) Black undercoat
2) 1:1 mix of Black and Dark Angels Green
3) pure Dark Angels Green, leaving the previous colour in the recesses
4) highlight with Snot Green (blend, edge highlights, etc. - depends on the detail-level I want)

So, given I start with a black undercoat, it's kinda difficult to paint a darker colour to pre-shade on a vehicle...What happens if I use a medium grey undercoat? That solves the pre-shade problem, but will it result in a brighter Dark Angels Green than my normal troops? Is there an alternative that will work instead?

Time for an experiment :)

I've used an old Rhino as a test vehicle, primarily because it has non-Chapter doors glued on and I've decided all of my vehicles will have DA doors from FW. I intend to compare the following:
1) A pre-shade using medium grey as the undercoat colour
2) Use my troops process on the vehicle to compare results

Without further ado, here's where I got to in a few hours of messing around last night. All paint is Vallejo Game Color and thinned with Windex. Numbers in brackets are droplet count for mixing.

1) Base-coat Cold Grey:Windex (60:20) at 20psi


2) Pre-shade Black:Windex (60:20) at 5psi
I noted here that pressure was too high at 10psi so I lowered it to 5, but still found it too high (it was blowing wet paint around). Not sure if this is a pressure issue or the paint was too thin, will need to research.


3) Light coat of Dark Green:Windex (60:15) at 15psi
I noted here the paint was waaaaay too thin!


4) Light coat of Dark Green:Windex (60:5) at 15psi
I noted here it was a little better, maybe even a bit too thick, but I didn't wait long enough between coats (I'm impatient!)


This is where I left it so it had a chance to dry completely. It probably needs two more really light coats, probably thinned somewhere between the two previous tests. Will post updates as I progress.

-----------------------------

In the other corner, the progress is a lot harder to see, and not as far down the path. I managed to get one coat of the darker green colour over a black undercoat. The colour I mixed was absolutely perfect to match the first stage I use on my troops, so I'm pretty happy, but it needs a second coat of this mix before I proceed to DA Green.

You can't really see the colour from the photo, but here it is anyway :P


All in all, a good night of experimentation, certainly learned a little about my airbrush. You can see from the last photo I was also messing around with thin lines - I am far from perfecting this, but I at least have a starting point of knowledge to build on now (5psi, about half an inch or so from the object renders a line about double the thickness of a felt tip pen, which is good for a start).


Tuesday, 22 May 2012

9 Months of Nothing!

Soooooooo....

It's been a long, long time since my last post, and even then it was getting pretty slow. Why? Lots of reasons - priorities in RL taking over, new girlfriend, two kittens that seemed to demand my attention whenever I tried to paint, and to be honest, the painting of my first LR in tiny components was taking its toll too - I know it sounds lame, but painting the same colours on 8 intricate Lascannon's was getting really boring. Thus, I took a 9 month break!

But here I am, back again! Not sure how much time I'm going to get to hobby, I now have a fiance who's about to move in and add a third kitten! But we'll see what happens.

I wasn't completely idle though - I bought a new fiance-friendly painting workstation, and I'm slowly getting that all set up and organized. I've built three Apoc army lists to focus my work (you can see them in the tabs on this site), I've built 23 of 3 Force Organization Charts to clearly show the companies everything belongs to, and I've ordered some bits and pieces from Forgeworld to set me up for my next project.

So, the workplan:

- Finish the LR Terminus Ultra...I've never airbrushed before (beyond some testing on internal components of the same tank), I've never painted a tank before (well, I've never finished one), and I'm still not confident on using weathering powders effectively, especially after my mess when I varnished over the mud inside the LR and turned it into ash. But you know what? The best way to gain confidence in all those areas is to bite the bullet and do it!

- Start building 5th Company! I'm going to start with the Chapter Master and Command Squad with their Razorback, and move straight onto 1st Tactical with their Rhino. I've ordered everything I need, and by the time I finish the LR it'll all be in my hot little hands and ready to go.

- Paint something different. I have a squad of Termies, 2 FW DA Ven Dreads, a Thunderhawk, a Warhound, 6 10-man squads of various types, LR's, LRC's, so much to choose from! But I will probably paint the Termies first, along with their LR Crusader, and go from there.

Keep your eyes peeled, there'll be more updates shortly.

To avoid the pic-less post, here's a happy-snap of my new painting workstation - it's a computer desk with doors so I can hide everything away from the kittens (and the fiance!) when I'm not using it. The keyboard tray currently houses my Alienware M17x so it is actually used as a computer workstation too. Neat eh? Now I just need to figure out where I can get some custom-built painting shelves :)

Friday, 19 August 2011

I'm not dead, just busy!

It's been a while since I've posted, and to be honest, between work and home-life my hobby has suffered a bit for the last 2 weeks. I'd like to say this weekend will see a fair bit of progress on my Terminus Ultra, but the reality is that I'm helping someone move out of my house and selling a bike, so I really have no idea.

The desire is there though, that's the main thing :)

I haven't been completely idle though - after spending several hours painting the interior of the tank and experimenting with FW weathering powders, I was surprised (and very happy) with the effect. There's three different coloured earth powders on the flooring, and I even put two tones of rust on the internal doors I modelled that looked great. Then I made a big mistake! For the most part, I've been making a paste out of the powders using Tamiya Thinner as a base, or applying a heavy GW wash on the model and brushing on dry powder while it's still wet. I finally finished it all and was very happy so I did what I always do - applied a coat of Testor's Matt Varnish. BIG MISTAKE!

In the space of 15 seconds, my gorgeously grainy dirt and mud effect turned into a while, flaky ash POS! After I managed to stop crying I tried applying gloss coat over the top (a good solution to the common "frosting" effect when using matt varnishes). This seemed to solve the problem and I breathed a sigh of relief. Then I applied another matt coat (per normal practice) and it went white again! I can't exactly leave rust and dry mud glossy can I? In the interests of wanting to move on, I've left it imperfect and moved forward with building the tank, and will have to experiment more on a test model to figure out what to do next time.

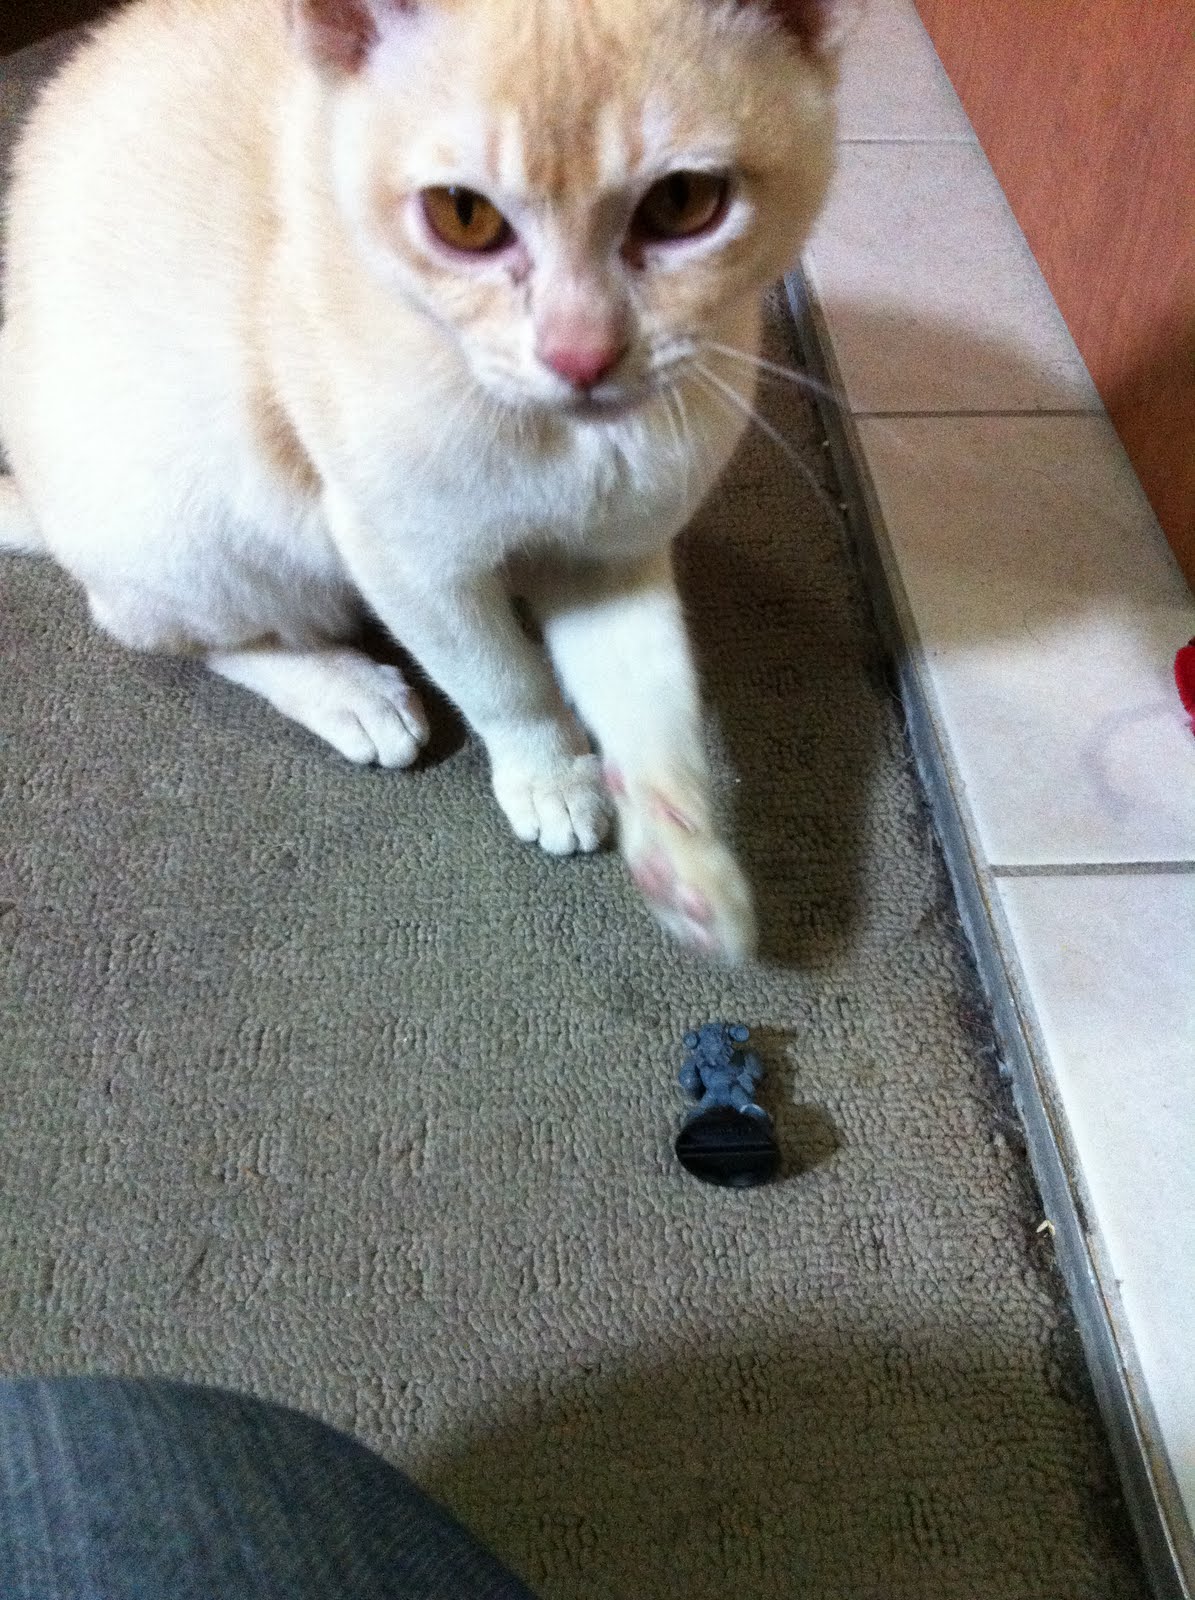
I've posted some photo's below of the interior detailing, along with one of the distractions I've had the last couple of weeks eating a space marine!


P.S. My titan and thunderhawk arrived Monday, and my 88 pots of Vallejo Game Colour arrived Tuesday. Very happy on both accounts, but incensed by the fact that I ordered the FW kit 2 weeks ago (and they cast the resin upon order and ship from England), but ordered the paint 7 weeks ago...