Friday 19 August 2011

I'm not dead, just busy!

It's been a while since I've posted, and to be honest, between work and home-life my hobby has suffered a bit for the last 2 weeks. I'd like to say this weekend will see a fair bit of progress on my Terminus Ultra, but the reality is that I'm helping someone move out of my house and selling a bike, so I really have no idea.

The desire is there though, that's the main thing :)

I haven't been completely idle though - after spending several hours painting the interior of the tank and experimenting with FW weathering powders, I was surprised (and very happy) with the effect. There's three different coloured earth powders on the flooring, and I even put two tones of rust on the internal doors I modelled that looked great. Then I made a big mistake! For the most part, I've been making a paste out of the powders using Tamiya Thinner as a base, or applying a heavy GW wash on the model and brushing on dry powder while it's still wet. I finally finished it all and was very happy so I did what I always do - applied a coat of Testor's Matt Varnish. BIG MISTAKE!

In the space of 15 seconds, my gorgeously grainy dirt and mud effect turned into a while, flaky ash POS! After I managed to stop crying I tried applying gloss coat over the top (a good solution to the common "frosting" effect when using matt varnishes). This seemed to solve the problem and I breathed a sigh of relief. Then I applied another matt coat (per normal practice) and it went white again! I can't exactly leave rust and dry mud glossy can I? In the interests of wanting to move on, I've left it imperfect and moved forward with building the tank, and will have to experiment more on a test model to figure out what to do next time.

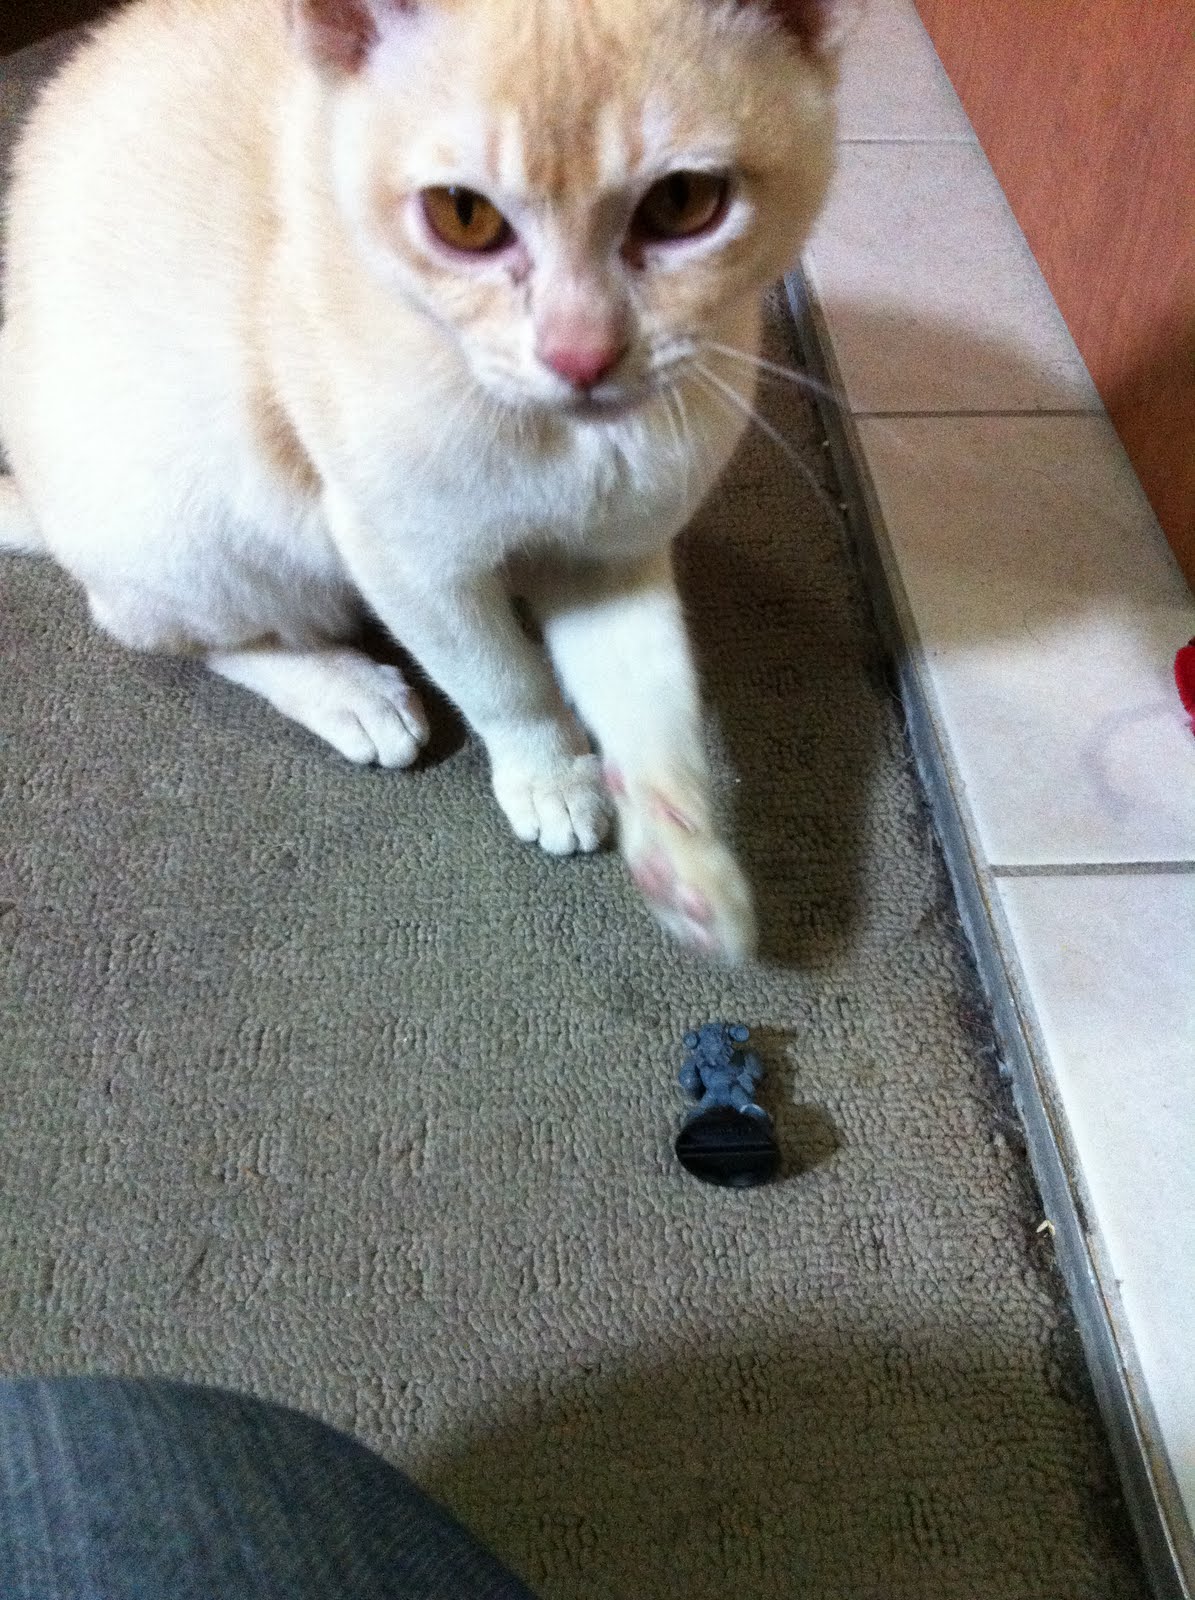
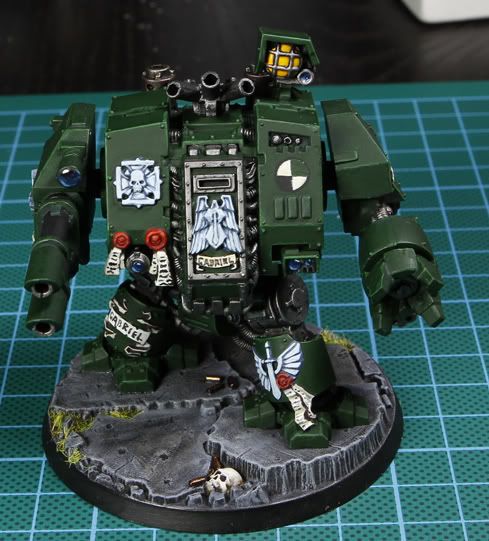
I've posted some photo's below of the interior detailing, along with one of the distractions I've had the last couple of weeks eating a space marine!


P.S. My titan and thunderhawk arrived Monday, and my 88 pots of Vallejo Game Colour arrived Tuesday. Very happy on both accounts, but incensed by the fact that I ordered the FW kit 2 weeks ago (and they cast the resin upon order and ship from England), but ordered the paint 7 weeks ago...

Tuesday 2 August 2011

I raided Forgeworld!

Ok, so not really, but I did just place a pretty massive order (by my standards anyway). Thank you goes to the Australian Tax Office for paying out my dividends on my forced savings account :P

Here's the shopping list:

- Dark Angels Thunderhawk

- 2 x Dark Angels Venerable Dreadnoughts (one with Plasma Cannon and Missile Launcher, the other with TL Autocannons and CCW\Flamer)

- Mars Pattern Warhound Titan w/ Plasma Blastgun and Vulcan Mega-Bolter


In the meantime, I'm still working on weathering the interior of my LR Terminus Ultra. To be honest, this is probably the only non-transport LR I'm going to bother painting inside and out - I could have completed another Land Raider in the same time it's taken me to mess around with weathering the inside so far...

Friday 29 July 2011

First Foray into Airbrushing


I finally found some time to sit down and run some paint through my airbrush a few hours ago. This is the first time I've ever used one, so I have to admit I've been a little nervous as I wasn't sure what to expect.

I thought I'd start with something relatively simple for my first attempt - I've spray coated the interior detail of the Land Raider Terminus I've been working on, and decided to paint it Desert Yellow as a base coat.

First off, thinning - to begin with, I decanted the brand new pot of Desert Yellow into a dropper bottle, and cracked open my dropper bottle of Windex (which a number of painters I've spoken to swear by as a thinner - no, it doesn't tint your paint blue!). Since I usually brush-paint with a 1:1 mix of paint to water\flow-aid, I thought I'd start with this ratio as I've read that you want your airbrush paint to have the consistency of milk (which would be thinner than my normal mixes). Well, let me just say that this simply didn't work for me. After filling up the paint cup on the brush with a 1:1 mix and spraying the first piece (the larger roof panel), I found it way too thin to work with - coverage was horrible, exposing black undercoat at every edge, and running the air over the painted piece with no paint spraying out created pretty little explosions of paint as it sprayed to the edge of the piece and beyond.

Right, back to the drawing board. Much mixing and experimenting later, I found a 2:1 paint to thinner mix to be about right. All in all, it took about 30 minutes to airbrush the 8 pieces that comprises the interior. They've been sitting for about 2 hours now and are mostly touch-dry.

That's all for my update for now - nothing terribly exciting, but my first real air-brush experience. I'm looking forward to testing it out in much more depth over this weekend.

Back to undercoating the rest of the tank :)

Sunday 24 July 2011

Busy Weekend!

So, after waiting almost a week for it to stop pouring, I was able to get the Dullcoat on my Devastator squad to finally complete it.

Let me know what you think :)


I haven't been letting the wet weather completely stop me though, getting to work on my Land Raider Terminus Ultra as soon as I found the time over the weekend. This anti-armour specialist is one of five Land Raiders in an Armoured Spearhead and since it doesn't have any troop carrying capacity I thought I'd use the internal space to model a power generator to feed the massive 8 Lascannon's this beast drags around the battlefield!

After much cursing and finger slicing, I'm pretty happy with the result. The generator is made from the Hurricane Bolter arms of two Ironclad Dreadnought kits, clad with plasticard to hide the asymmetrical shape of the arms they were originally sculted to represent, and adorned with the missile launcher covers and Assault Drill chassis from the same dreadnought kit. The thickest wire I could find in a Bass Guitar String set provides the finishing touch. I'm yet to decide if I'm going to add more wiring - I had originally planned a far more complicated setup, with a number of pieces sitting on the floor in front of the generator, all wired together using thin wiring, then using the heavy cabling to run a wire from the centre to each Lascannon (representing the power feed to each gun). Each of the 12 bolters was also going to be wired into the pieces on the floor. However, I just couldn't jam that much stuff into the small space I had to work with, and I got the impression it would have been way too busy with that much wiring anyway. Will throw on a coat of paint and figure out whether I'll leave well enough alone, though comments would be greatly appreciated.

I also made some plasticard covers for the inside doors to finish off the internal space. I used a sharp needle-tool to etch some rudimentary armour coverings in the visible space to make it look like the same as the doors on the inside of weapons sponsons - it's pretty rough but you'll hardly be able to inspect it closely once the tank is built anyway. I spent the remaining time I had to put as much of the rest of the kit together ready for a primer coat once it stops raining.


Tuesday 19 July 2011

Airbrushes Away!

So, after receiving my Iwata Eclipse HP-CS recently from Dick Blick, I had another 2 week wait for a compressor - very painful waiting on something you're excited to receive.

After prayers to the Emperor went ignored that it'd arrive on Friday in time for the weekend, what should appear first thing yesterday morning but my brand new Iwata IS925HT compressor! :) I have to say, while the shipping wasn't super-fast (a week and a bit from Adelaide), it was nicely packed and the guy even threw a few lollies in the box (an odd, but nice touch).


Fired it up for the first time last night, and whilst I didn't manage to get any paint through it, initial impressions are that the compressor is surprisingly small, very quiet, and sits conveniently on my painting desk without trying to escape via vibrations when it's filling the tank.

I'll play with it more on the weekend and post some first impressions once I run some paint through it.

In terms of hobbying, I've had a couple of really slow weeks. The Devastator squad is so close to finished I can almost taste it - threw the final Dullcoat on 3 of the guys last night and re-glued the annoying banner on the Sergeant. All that's left now is to put squad-number decals on the Sergeant and the Plasma Cannon marine (again...I hate decals falling off after they are perfectly placed!), then Dullcoat them. Once they're dry, 10 minutes, some PVA glue and some static grass should see them finally completed.

Then, on to my custom generator build to go inside the Terminus Ultra :D

Saturday 2 July 2011

Devastator WIP

Had hoped to finish these before I went to Auckland for a week, but what can you do eh? Still needs some finishing touches\tidy-up, then recoat Dark Angels Green and highlight Snot Green, and finally some static grass to tie the new resin bases in with the rest of my army.

Oh, and I'm pretty darn proud of the standard - the pic is blurry and whilst it's not perfect, this'd have to easily be my best freehand attempt at the DA logo. Final pics will come as soon as I get back and polish this unit off - then I can finally start on my Land Raider squadron :)

25k Apoc Army List

So, my Devastator squad is almost done, and I'll be posting pics no matter what state they're in today. In the meantime, I've just published my 25k apocalypse army list I'm building towards - I've got about 4000pts collected so far, but I've got no plans to rush purchases much faster than I can paint what I'm buying :)

Thursday 16 June 2011

Bitz Ordered!

Not so much a painting update, but I've just ordered all of the kit I need to make the following:
- Land Raider Ares
- Land Raider Prometheus
- Land Raider Terminus Ultra

Once the FW and GW kits arrive, I'll be detailing the step-by-step conversion process for each, so stay tuned.

Tuesday 14 June 2011

Welcome to my Blog!

Hi and welcome to my Blog!


I've been an avid collector and painter of Games Workshop miniatures since I was about 8 (starting with Space Crusade and Heroes Quest), though I've really only hit it hard in the last few years. Note that I don't purport to be a great painter or hobbyist, I just thought it would be interesting to share my hobby with anyone who happens to stumble onto my blog.


At present I have a largely unpainted 3000 pt Dark Angels army, and would like to chronicle my hobby adventures here. I'll start with my most recent addition to my army, and might post some older models at a later date (there's not that many completed anyway).


Without further ado, I present my latest completed model which was finished this weekend - a Dark Angels Dreadnought. Comments and constructive criticism is most welcome:


In progress at the moment is a 5-man Devastator Squad and a Ravenwing Bike Squad with Land Speeder support.
BlogBooster-The most productive way for mobile blogging. BlogBooster is a multi-service blog editor for iPhone, Android, WebOs and your desktop